Table of Contents
First-time hot tub buyers often get a bit carried away. They buy the spa itself, the chemicals, the cover. They get it all set up and are about to hop in when they realize… No stairs. Damn.
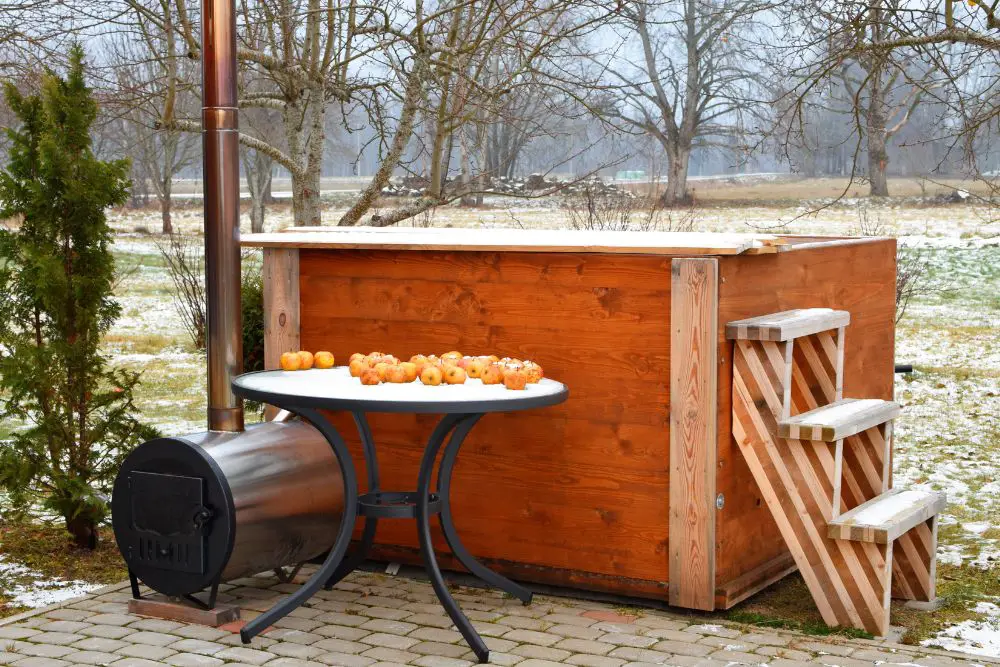
Most above ground hot tubs need stairs. Unless you have Stretch Armstrong legs, you will not be able to get in and out of the tub safely without stairs.
Temporary solutions like step stools or a chair are not ideal. They do not provide a safe and stable surface to haul your wet body onto. You will end up slipping and falling.
And if stairs seem like an unreasonable expense, wait and see how much a broken leg or a slipped disk will cost you!
If for whatever reason, you are totally averse to buying some hot tub stairs, then your only option is to build your own. I should say, your only safe option is to build your own.
You might, even now, be throwing your hands in the air and proclaiming “I can’t DIY!”
To that, I say, nonsense! Building some steps for your hot tub is an easy little project that you can complete in a few hours, a day at most.
The best thing about building your own stairs is that you can fully customize them. You can match the wood, make them as simple or as elaborate as you wish, and add any extra features you desire.
So, let’s step right into it, shall we?
You Will Need:
- Measuring Tape
- Saw
- Wood Glue
- Wood Screws
- Spirit Level
- Pencil
- Sandpaper
- Wood
- Drill
When choosing your wood, you’ll want to go with something that matches the exterior of your hot tub. However, you also want it to be a wood that will weather well. Firs or cedar wood is ideal.
In terms of the size of wood, you’ll need 2×6 timber for the stair frame and 2×4 timber for the tread. The length will depend on how many steps you want to build and the size of the stairs.
You don’t technically need any power tools to make these stairs. For sure, an electric drill will make it much easier, but you can get away without one.
The same goes for the saw. An electric saw will be quicker, but a hand saw will do just fine. Don’t rush out and buy tools if you don’t need them.
Method
Step 1 – Cut your wood.
To make stairs, you basically need to make two boxes. You might need more than two, depending on how high your hot tub is. You’ll have to make that call.
Now, you’re going to use the 2×6 wood to make the boxes. You’ll need to cut 4 pieces to the same length. These will be the long sides of your boxes.
It’s up to you how long you want to make these steps. Wider steps are easier to navigate but you may not have that much room. 2 foot in length is a decent size for your steps if you’re unsure.
So, using your saw, cut 4 foot long bits of wood from your 2×6. Make sure you secure the wood before you begin to saw through it.
The next thing you need is the shorter sides of your box. It’s important to remember that your boxes will not be the same size.
The bottom box will be twice as long as the top step. This is because the top step will sit on top of the bottom step.
So, as a rough guide, you should cut 2 x 14” planks from your 2×6 and 2x 7” planks.
The final cut you need to make is for your treads. These should be cut from your 2×4 and should be the same length as your long sides + a few inches.
How many spare inches you go for depends on how much of an overhang you want on your steps.
Step 2 – Assemble your boxes.
Start with the larger of the two boxes. You need to attach the longer pieces to the shorter sides using wood screws and wood glue.
The best way to do this is to place a long plank in a vice and hold the shorter piece to the end.
Using a drill, make two pilot holes a few inches in from the top and bottom edge of the wood. You need this hole to go through both bits of wood.
Remember, when making pilot holes, you need to use a drill bit that is slightly smaller than the wood screws you will be using.
With the pilot holes drilled, you can separate the two bits of wood and spread some wood glue on the edges. This will give the joint a bit more strength and stability.
Realign the wood planks and drill your screws into the pilot holes. Stop when the head of the screw is flush with the wood.
Repeat this process for all sides of your big box. Then repeat again for the smaller box.
Step 3 – Stack your boxes.
Place your smaller box on top of the larger box. You need to line the back edges up with each other.
Take care to make sure that the sides line up as well. If you have a bit of an overhang, it can cause damage over time.
You’ll need to attach these two boxes using wood glue and screws. However, it is not as simple as the earlier joins we made.
To attach the two boxes, you’ll need to make pocket holes in the top step to allow us to screw them into the wood.
You can use a pocket hole jig if you have one or you can make your own pocket holes. This is a great instructional video for beginners who have never made a pocket hole.
Once you’ve made your pocket holes, you can glue and screw your boxes together.
Step 4 – Adding treads.
You’ll need 2 treads per step. Remember that we cut this earlier from your 2×4. Adding the treads is as easy as centering them and then screwing and gluing.
You will need to leave a small gap between the two treads. This only needs to be a few millimeters in width.
Step 5 – Attaching your steps.
You need to attach your steps to your hot tub to prevent them from tipping over. The easiest way to do this is to use mounting brackets.
You can pick these up for a few dollars in a hardware store if you don’t have any.
Mounting brackets tend to be ‘L’ shaped. Simply screw them to your step and your hot tub.
Ideally, you should secure your steps to the ground as well. If you have decking this is easy enough to do. If, however, you have concrete or patio you’ll need to be a bit more inventive.
You can drill into concrete and patio slabs but you’ll need a stronger drill.
Final Thoughts
There you have it! 5 fairly simple steps that will help you step into your hot tub in style.
The whole project shouldn’t cost you much more than 50 bucks depending on what tools you already have at home.
It’s a cheap and easy way to make your hot tub safe for use.